Step by Step Guideline
Registration
Register for a Developer Console Account
In order to use Pretia AR Cloud, you will need to have a registered account in our Developer Console. Everyone is able to register from https://arcloud.pretiaar.com/.
Login to the Developer Console
You can access the Developer Console from https://arcloud.pretiaar.com. After you login for the first time, you will be prompted to enter the team name. You can invite other members of your team to the team to collaborate and share scanned maps.
Create an Application in Developer Console
Many features of Pretia AR Cloud uses an App Key to identify your application, so in order to start developing your app you will need to create an application from Developer Console. You can create a new application in Developer Console by pressing the Create a new application button and entering the app name. Once created, you will be able to see the App Key, assign maps that the app will use, and change its maximum player count for multiplayer.
If you are planning to use map-based relocalization feature, you will need to assign at least one map to your app. In order to assign a map, you will need to create one with the 3D Scanner App. If you want to start with image-based relocalization, you can skip to Import Pretia SDK
Prepare a Map
Download 3D Scanner App
You can download the 3D Scanner App by selecting Download in the Developer Console sidebar. It will take you to a page that has the download link for 3D Scanner App. Install it to your device.
Create a Map
Open 3D Scanner App in your device and login with your Developer Console credentials. Press the Scan a new 3D map button and follow the steps to create a new map. For more information regarding creating a map, please refer to this guide on how to create a map.
Bind Map to your App
Once you have scanned a map, you can bind it to an application either by using the 3D Scanner App or the Developer Console.
Note: it is necessary to bind your maps to an application for some of our features e.g., Map Selection, Map Visualization, Content Authoring.
Pretia SDK Quick Start
Import Pretia SDK
Pretia SDK is a upm-based Unity package stored in https://npmjs.com. In order to import it, you will need to add the following to the scopedRegistries section in the manifest file (Packages/manifest.json):
{
  "name": "Pretia Technologies",
  "url": "https://registry.npmjs.com",
  "scopes": ["com.pretia"]
}
And you will also need to add com.pretia.sdk to the dependency:
"com.pretia.sdk": "0.8.0"
This is how your manifest file should look like after the changes:
{
  "dependencies": {
    "com.pretia.sdk": "0.8.0",
    ...
  },
  "scopedRegistries": [
    {
      "name": "Pretia Technologies",
      "url": "https://registry.npmjs.com",
      "scopes": [ "com.pretia" ]
    }
  ]
}
Save the file and open your Unity project. It should import Pretia SDK together with all of its dependencies.
Setup Pretia SDK
Once the import is finished, you will need to set your App Key from Developer Console to your Unity project.
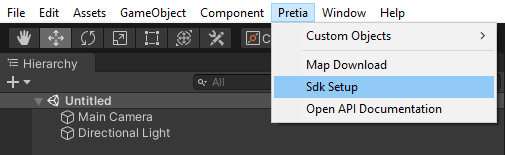
- Select
Pretia > Sdk Setupin the menu bar
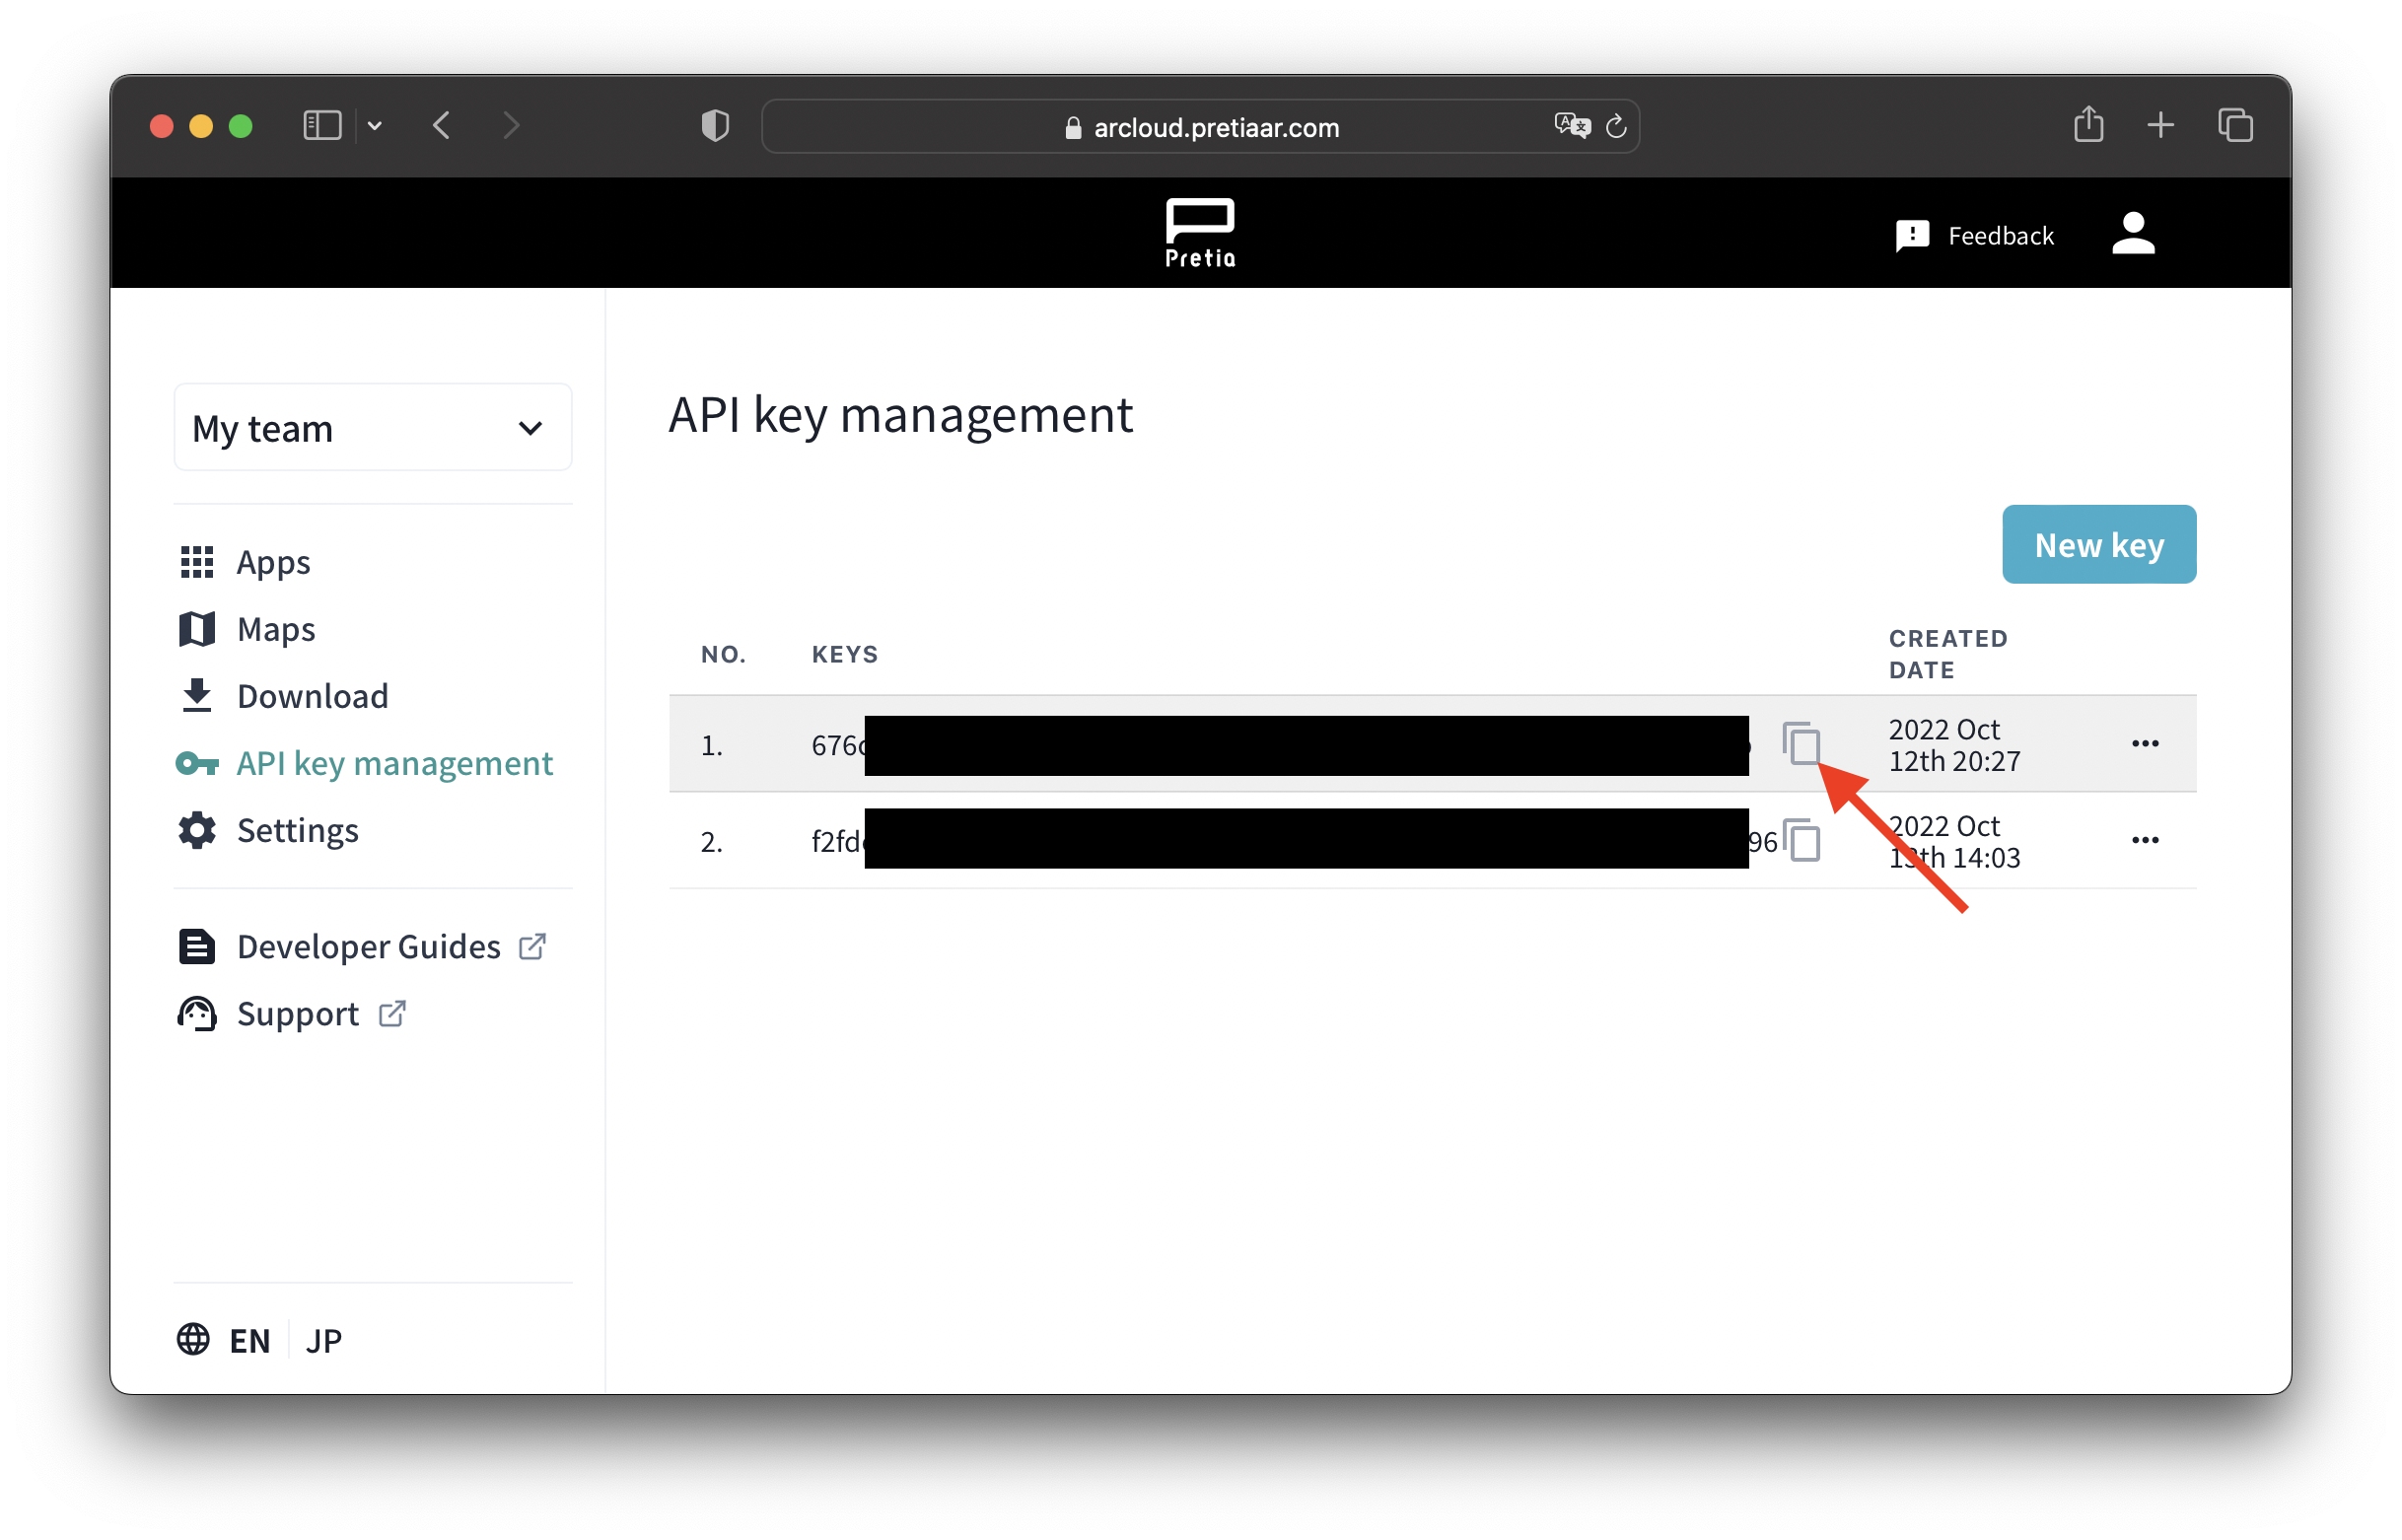
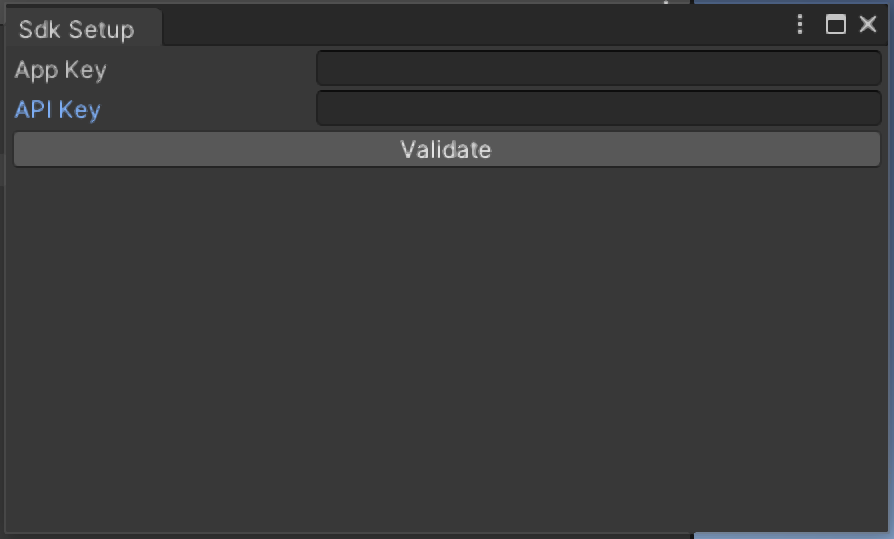
- Input your
App Keywhich can be found in Developer Console

- Input your
Api Keywhich can be found in Developer Console
- Press
Validateto authenticate your account. This step will be useful for when you want to download and visualize maps.
Congratulations on setting up your environments! After reaching this point, we recommend going through our sample projects to get a better understanding of how to use the SDK. Please refer to this guide on how to import sample projects.