Application Binding
In order to follow this tutorial, you will need to have a map created by 3D Scanner App and have your application created through the Developer Console for your specific Team.
We recommend reading through Getting Started first to make sure everything is setup properly.
Before you can place any content to your map, you first need to bind it to an application. This can be done directly within the 3D Scanner App to eliminates the need to do it from the Developer Console.
UI Overview
After successfully relocalizing your map, press the Content Authoring button. You will be presented with the application selection panel, asking you to choose an app from the list of currently bound applications :
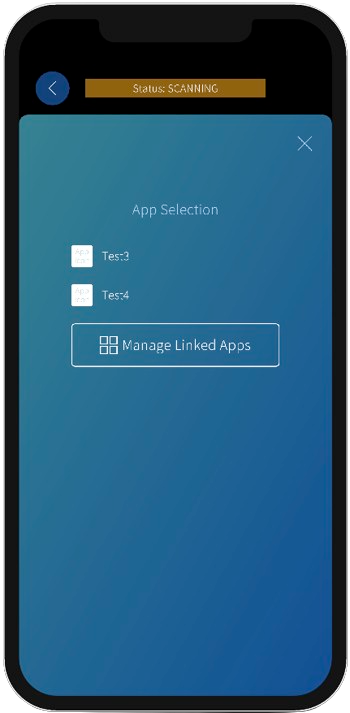
By pressing the Manage Linked Apps button, you will be presented with a new panel allowing to bind and unbind applications from the current map :
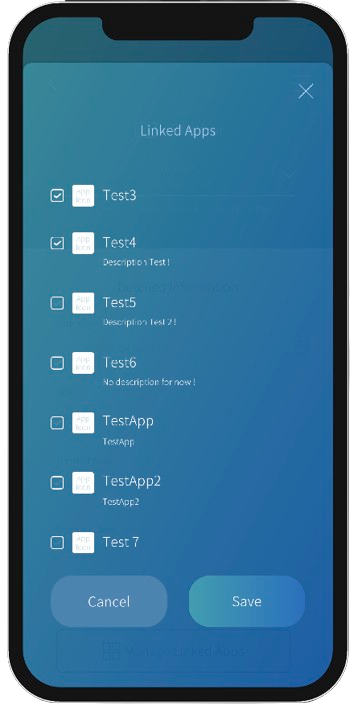
Select the applications you want to bind/unbind.
Once you are done with the changes, press the Save button, this will bring you back to the previous application selection panel updated with your changes.
You can now select the application you wish to add content for.